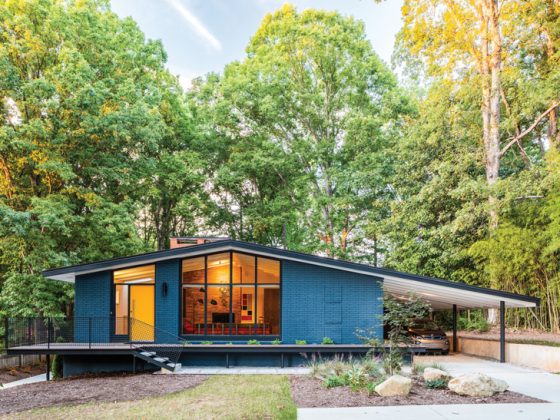
Next up on the makeover list of our Sacramento Carter Sparks designed, Streng Bros built home in Sacramento is implementing a landscape design plan. In our previous article we described working with Yardzen, the online design platform, to develop a design plan for our backyard landscaping. In Part Two, we choose a landscape contractor and give tips on implementing a landscape design plan.
The Vision
As described in Part One, despite some flaws in their design process, Yardzen helped us organize our landscape vision. Having the plan as a starting point made communicating our design vision to our landscape contractor a snap.
Our overall style for the back yard was to continue the mid century style of extending the interior living area outside. To us this meant a space for entertaining. We also wanted a peaceful, cool retreat where we could escape the Sacramento heat. And given the continuing drought in California we wanted a gravel garden and native plants to conserve on water and maintenance.
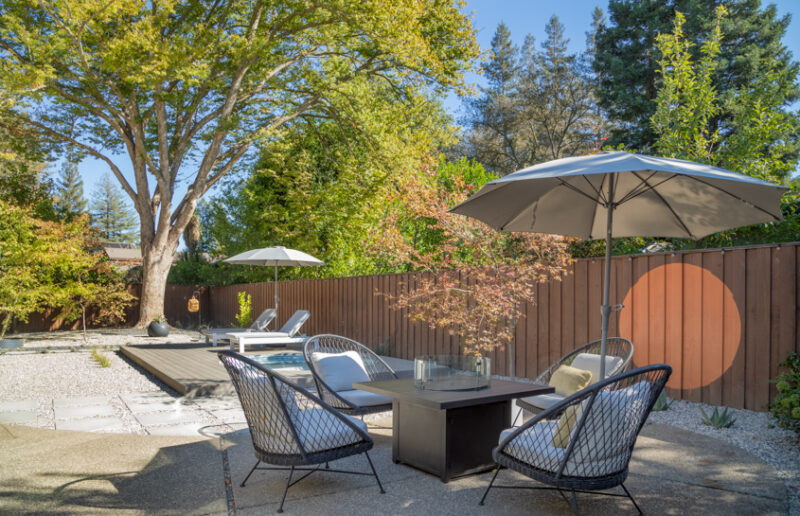
Our design has three distinct areas—a cocktail pool and deck area, meditation garden and seating area — places for parties as well as for peace.

Time to Implement the Landscape Design Plan: Picking a Landscape Contractor
We looked for a landscape contractor to implement our design plan months before the Yardzen plan was even completed. Our research primarily consisted of “drive by” research—we literally walked around our mid century modern neighborhood and drove around nearby neighborhoods. If we saw a yard we liked we noted the address so we could return to inquire about their landscape contractor.
Through this very scientific process we chose a contractor responsible for installing four landscaping projects in our immediate and nearby neighborhoods. Steve Dobson and his team of Park Place Landscaping received great reviews from his customers and we liked that we could see how the yards he installed changed and grew in the months after installation.
Steve had never worked with a plan designed using an online design platform but he was game to try. He had also never installed a meditation garden or cocktail pool but was up for the challenge.
He put together a budget and timeline for us and we set a date for installation.
To prepare the yard for installation, Steve arranged for two trees to be removed and 60 years of leaves and dirt to be carted away.
Even though Steve couldn’t start for several months after we hired him, we started to source materials and clear the yard.
We took a field trip to Cascade Rock to pick out the size and color of gravel we wanted to use. When it came time to order the plants a few of the plants sourced by Yardzen were no longer available so we had to be flexible on substituting similar plants. We ordered deck material samples so we could have the color picked out and ready to be ordered.
As mentioned in Part One, Yardzen does offer to match you with a local contractor for your project. They did reach out after they submitted their final plan to us with one recommended contractor from the Yardzen Pro Network. At that point we had already decided on a local contractor. If you aren’t able to find a local contractor you like, the Yardzen recommendation might be a good resource although we think giving a referral at the end of the project can result in delays.

The Cocktail Pool
The focal point of our backyard design is a cocktail pool, also called a plunge pool. This is a small pool about 2 feet deep, 6-10 feet wide. Yardzen included the pool in their design per our request but despite repeated attempts, we were unable to get a source for the pool from them. We had also seen a similar pool in their marketing materials so we were puzzled by their lack of response.
A deep dive into the world of pools only led to the conclusion that it would be too expensive to source and install. One estimate was $80,000—that’s a lot of cocktails. So we decided to build the deck without the pool.
But then an article about stock tanks caught our eye and we knew this would work for our cocktail pool. Affordable, durable and easy to install.
We found a company located in Southern California called H20 Tank Avenue. This woman-owned company offers stock tanks in a variety of sizes and shapes as well as add-ons such as benches and custom exterior paint. Their packages include either free or a reasonable delivery fee if located out of their delivery area, filters and installation. They also sell a heater if you want to make your cocktail pool into a hot tub.
We opted for the round, 10-foot stock tank. We also later added an electric heater. The cost was a reasonable $2,600 for the stock tank package, and about $1,000 for the heater.
The biggest expense was the $3,000 for our contractor to install at 220 electrical line for the heater. Still, overall the cost for the tank and installation was much cheaper than expected.
The stock tank was delivered two weeks before it was to be installed in the deck. We still had them set it up and fill it to make sure everything worked.
A deck was built around the stock tank. We chose deck material from TimberTech, a manufactured product that uses recycled materials and eco-friendly manufacturing techniques. It feels great on bare feet and is low maintenance.
Installing a concrete pad to set the stock tank on will prevent the pool from settling. We didn’t do this and after it had been positioned in place and the deck built around it — it sank a few inches. Steve and his team had to disassemble and rebuild the deck. Lesson learned.
Our contractor also installed Styrofoam around the stock tank as insulation. Essential to keep the temperature consistent.

The Meditation Garden
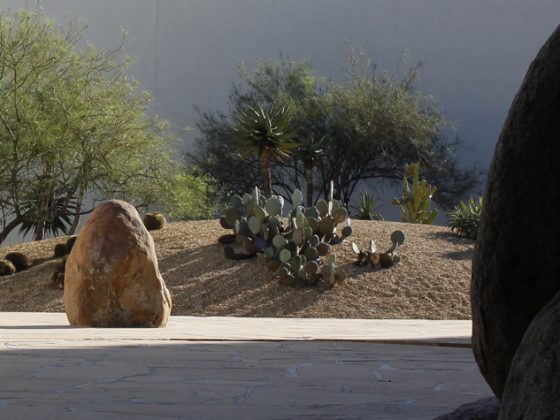
The elements of a meditation garden imitate nature, not its actual appearance. There are traditionally eight main elements of a meditation garden. We didn’t implement all the classic elements but we did include gravel to represent water and boulders to represent mountains. We placed the garden between two orange trees. A concrete bench placed near the garden creates a spot for quiet reflection. A fun design element pulling it all together is the orange sun painted by Nick Pierce, owner of N Style Painting. Nick painted three of these suns for us to tie together the areas of the yard.

The Seating Area
Overgrown hedges were removed from around the existing seating area and native and drought tolerant plants were added. We found a surprise buried in one of the hedges—a post filled with phone lines from the Bell System Company (now known as AT&T) labeled “do not disturb”—a relic from landline times. It was left intact for now—perhaps it will become a Tiki light or some other design element.
The large boulders we found under the hedge became the “mountains” in our mediation garden.
And here you will see another orange sun linking this area with the mediation garden.
We added more seating as well as a fire table. Planters in various sizes give some height to each area.
We are pleased with the results of our Yardzen project. Future additions might include a pergola with misters over the seating area to help beat the heat of our Sacramento summers as well as the addition of more succulent plants.
Implementing Landscape Design: Tips
•Neighbors are a good source for finding a local, reliable contractor.
•If you want to use a referral from the Yardzen Pro Network reach out to Yardzen before your design is completed for their recommendation to avoid delays. It takes time to schedule a site visit and select a contractor.
•Look for a contractor who also has electrical and lighting experience so you don’t have to find that additional expertise.
•Covid related delays are still a factor in sourcing materials like gravel, outdoor furniture, deck material and even plants so plan accordingly.
•Meet with your contractor every few weeks during the installation to review any design issues and budget changes.
•Consider tying together the areas of your yard with a fun design element like our suns.
•Save some elements from your old yard to use in your new plan. We saved boulders, several trees and a few plants.
•The plants will initially look too small as if you didn’t order enough for the space — give them a chance to fill in before you start adding more.
•Installing a concrete pad to set the stock tank on will prevent the pool from settling. Styrofoam insulation will help keep the pool temperature consistent.

Stay tuned for articles on our progress of our Sacramento Modern Makeover. You can access past posts on our SacMod makeover such as our most recent post as well as at patriciakline.com.
There you will also find profiles of other Mid Century Modern enthusiasts written for Atomic Ranch Magazine as well as articles on Mid Century Modern finds such as where to shop, eat, drink and stay in Palm Springs. You can follow me on Instagram.
Of course, don’t forget to follow Atomic Ranch on Instagram, Facebook and Pinterest for more Mid Century Modern inspiration!

