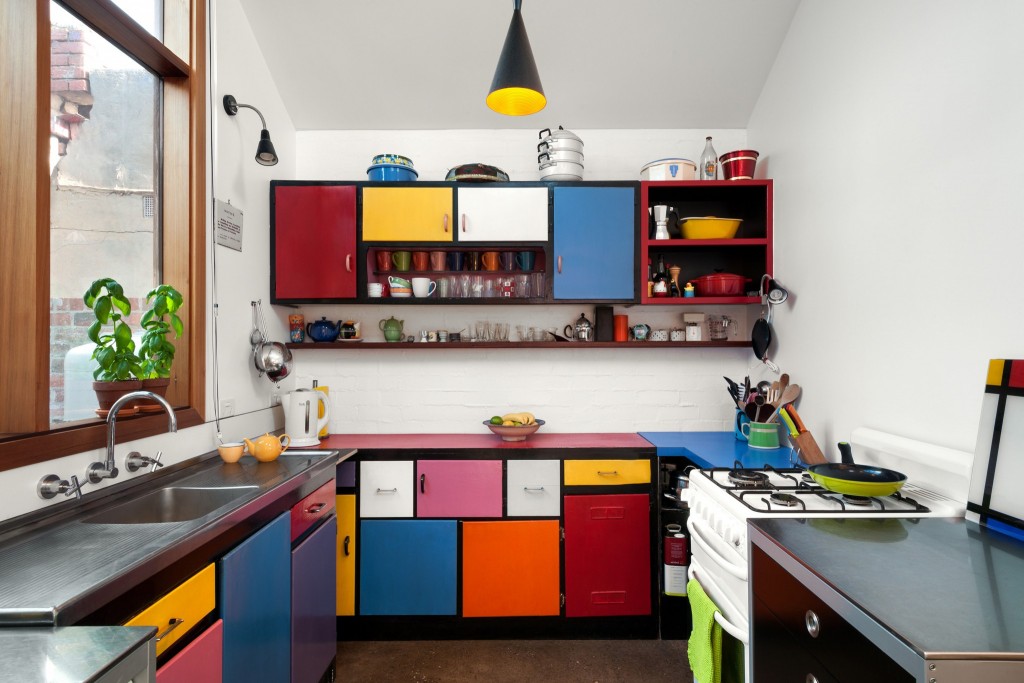
Piet Mondrian’s work holds an indelible place in midcentury art and design. Sadly already passed on by 1944, his powerful grid-based, bare bones compositions endured, championing the momentum and imagination of a time that would become associated with reinvigorated color palettes and pure forms. His art has influenced the aesthetic production of everything from home décor, to Rubik’s cubes, to fashion—all of which may come to both the delight and chagrin of an artist who once said “Beauty is obscured by the appearance of objects. Therefore objects must be eliminated.” Though we can’t eliminate objects totally, however beautifully we want to live, we can incorporate Mondrian’s iconic sensibilities into our own lives and, more specifically, into our own kitchens with some DIY cabinets.
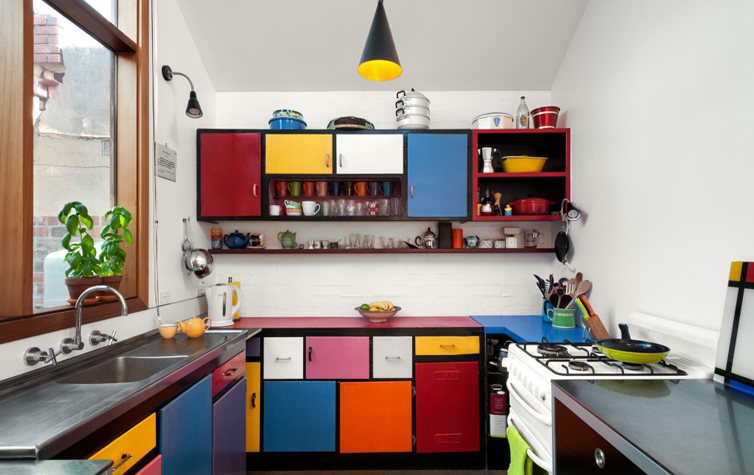
Take this mod home, nicknamed the “Color House” as a prime example. One of the homeowners, a cartoonist and pigment authority in her own right, painted the cabinets herself prior to teaming up with an environmentally sensitive design firm, Ande Bunbury Architects, for some other necessary renovations. She was adamant about keeping these DIY cabinets and drawers intact in order to keep costs down but also to retain the spirit of playful abstraction she adored so much. Touching base with Ande Bunbury, he had some advice for anyone who wants to cook with color: “Obviously, the important thing when trying to achieve this look is to stick to strong blocky colors, related to the primary colors and black/white/grey to make the Mondrian reference clear.”
Sustainable and reverential, this guide provides an easy way to rejuvenate your retro kitchen without tampering with its structure. Be warned that though this do-it-yourself instructional is relatively simple, it does require patience, as you will likely be out of a kitchen for around two weeks watching paint dry. However, when you’re finally preparing dinner in such a marvelously minimalist, multicolored space, two weeks will seem a small price to pay for deliciously pure style!
Here’s what you’ll need to get these Mondrian-inspired DIY cabinets:
Paper
Markers in primary colors
Wood filler
Spackling knife
Sandpaper (60 and 200 grit)
Palm sander
Deglosser
Stain-blocking primer
Foam roller
2” angled brush
7-5 quarts of high-quality paint (primary colors, including black, white, yellow, blue and red)
Level
Electric screwdriver
1. Get your color scheme organized. Sketch your kitchen layout onto a piece of paper and break out the markers. Play around with various color schemes until you’re happy with the design. This may take a couple of tries, but have fun with it! Be sure to incorporate thick black lines for the frames. Buy paints reflecting the final color concept.
2. Remove all the drawers (including hinges and handles), labeling where everything goes and what colors they are going to be. As you are removing the doors and drawers, look for any small holes or nicks that you’d like to patch up. Fill in these imperfections with some wood filler. Do the same thing for the cupboard frames. Wait for the wood filler to dry as per putty container instructions.
3. Regardless if you used wood filler, you must sand the outer surfaces of the drawers, cupboards and frames. Use a 60-grit sandpaper to smooth out the areas filled with putty. Next, use your 200-grit paper to roughen up all other surfaces. This buffing will make it easier for the primer and paint to set. Be sure to go light on this process; you don’t need to get down to bare wood. Just get the cabinetry to a smooth, uniformly matte state.
4. If your kitchen has been lived in at all, there is likely some residual grease and grime on the cupboards and drawers. Break out a deglosser of your choosing and get to work. Wipe everything down with a damp cloth and wait to dry.
5. It’s prime time! Apply the primer as thinly and evenly as possible to the back of the cabinet doors using an angled brush and then going over it with a foam roller for the best results. Prime the drawers and cabinet frames. Allow to dry for one day or as per package instructions
6. Flip the doors and prime the front. Again allow dry for a day or as per package instructions.
7. Now the challenging, albeit fun part begins. Hopefully you’ve labeled the drawers and doors with their predetermined colors. Paint the backs of everything first with the same attention to thin, even coats as you paid to the priming stage. While these dry, paint the frames black. Wait a day before adding a second coat to everything.
8. Flip the doors over and paint the front surfaces. Again, wait a day to dry and then apply the second coat. Now is where your patience gets tested (as if it wasn’t before). Read the cans of paint to see how long it takes for the paint to cure; it will likely be at least a few days. This step is very important, so you won’t have issues down the line with cracking or wood-grain showing though. All you can do for now is relax and enjoy eating out for a few more days. Make the most of it!
9. When everything is dry, reattach all the hardware and hang your cabinets, ensuring that everything is level. And there you have it—a gorgeously grid-based galley!
If you love this project, be sure to check out more of the “Color House” and other homes by Ande Bunbury Architects.


