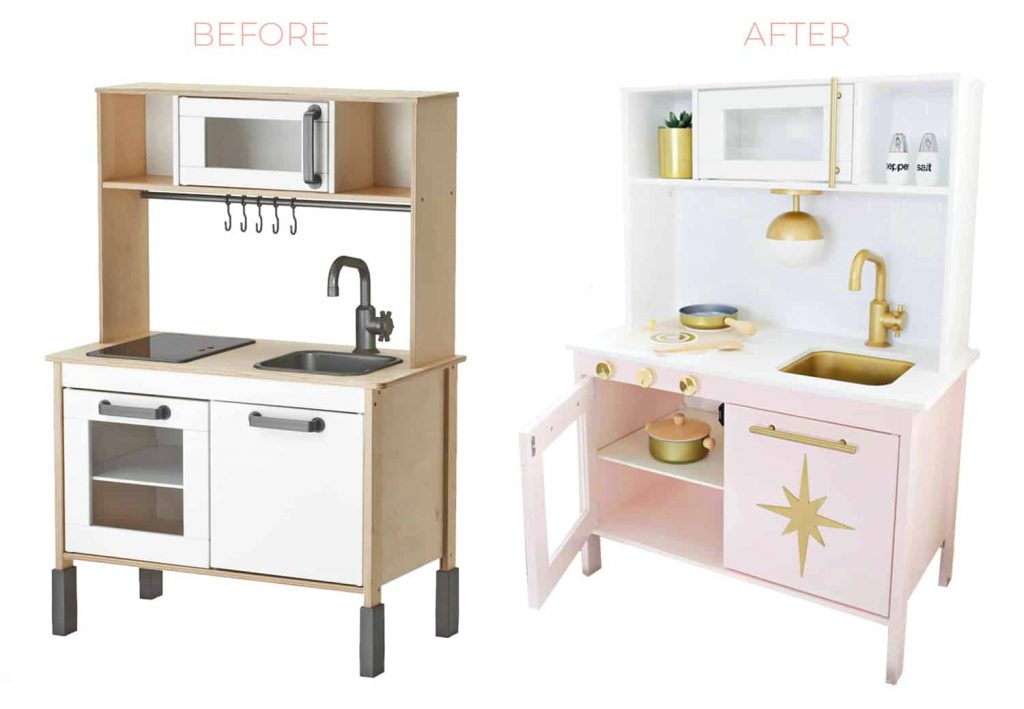
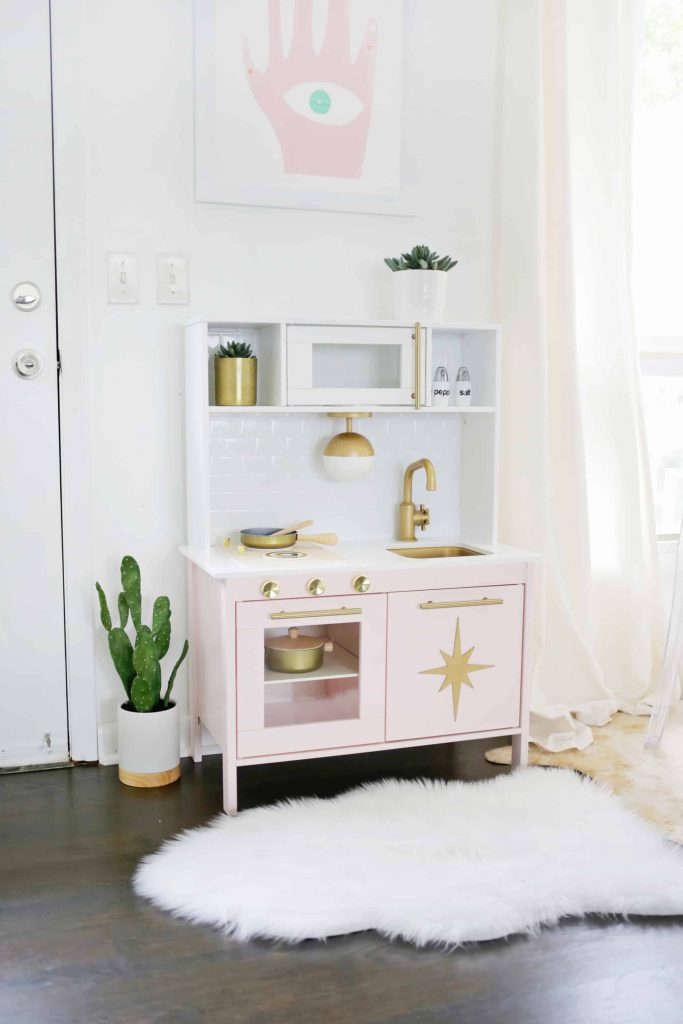
Laura Gummerman of A Beautiful Mess transformed her daughter’s IKEA play kitchen from just so-so to a retro dream. Now standing pretty in pink, the toy that so many families are familiar with has a whole new lease on life (and is the exact opposite of eye sore).

From Laura:
I know I’m not the only parent that obsesses over the kids items that we bring into our house. Aside from being fun and safe, I also have a strong “need” for everything to be extra cute and match my color scheme and decor as well. I’ve done some DIY projects totally from scratch to be the most adorable possible (like this toddler activity center), but I also wanted to set Lola up with a play kitchen in our den to (hopefully!) entertain her a bit while we make dinner nearby. So an IKEA play kitchen hack seemed like the perfect project to tackle! Here’s how I customized mine!

Here are the supplies you need to tackle this weekend DIY for yourself:
General Supplies
–IKEA play kitchen
–peel and stick subway tile
–gold spray paint and clear gloss spray
-flat white primer spray paint
-paint for kitchen (I would suggest a lacquer paint if you can!)
-painter’s tape
-piece of foam core board
-wood glue and epoxy glue
-drill and drill bits
-wooden star decal
–5″ center to center brass pulls (I used 3 of these)
–round gold cabinet knobs (I used 3)
Supplies for stove modification
–12″ rounded rectangle board for stove
–4″ circles (2 of them that are 1/8″ thick)
–gold and white vinyl
–small brass knobs
Supplies for light fixture
–wooden ball (4.5″ size)
-1/2″ wooden dowel rod
–4″ wooden circle (1/2″ thick)
For the full DIY (including handy progress shots) head over to A Beautiful Mess!


