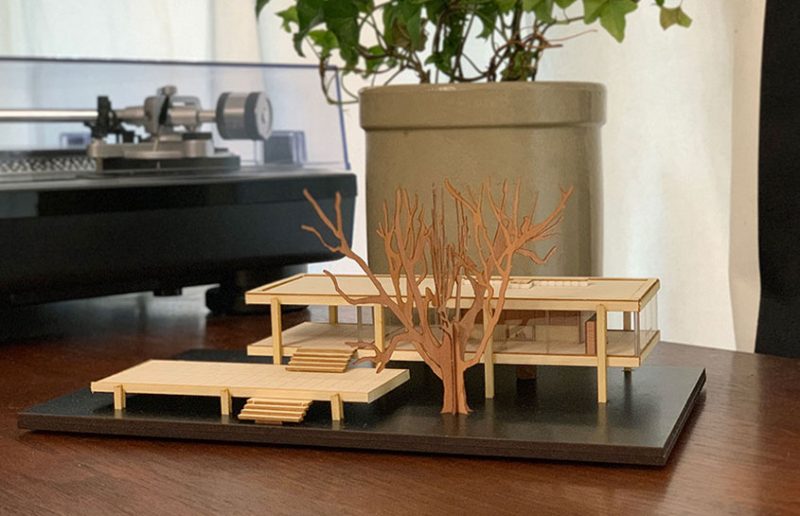
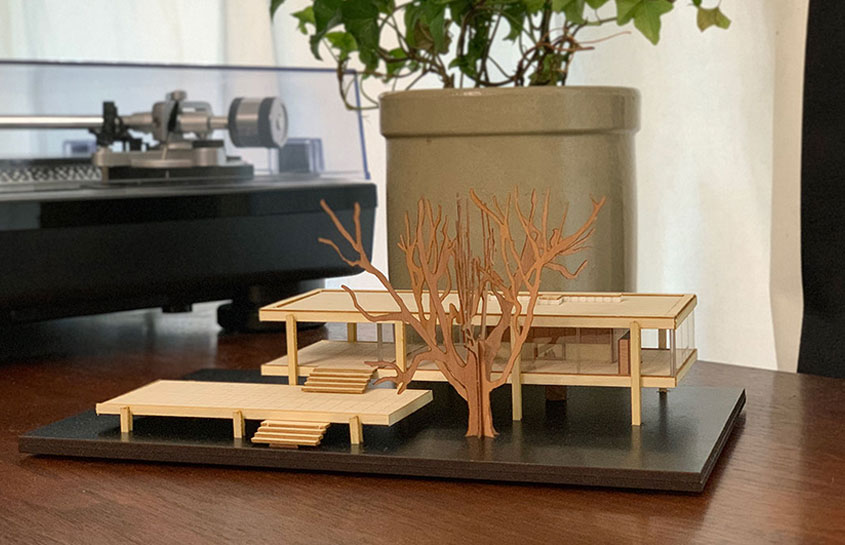
There’s nothing like a creative project to break the boredom while we’re all sheltering at home. If you’re ready to graduate from puzzles you have to pack away again to something you can show off for years to come, head over to Modern Landmarks and pick up a Farnsworth House model kit of your own. The company also carries a kit for the Guggenheim Museum, which my husband poured over for a solid Sunday, as well as Frank Lloyd Wright’s Unity Temple.
Building A Model Kit
By nature, I’m a tinkerer and do-it-myself project lover. I adore details and I’m patient with precision. It took me about seven completely engrossing hours to complete the Farnsworth House kit, and I loved every second of it. But if this is not your idea of a good time, you can purchase the model pre-built and no one will be any the wiser.
For the rest of us who love getting absorbed in a project, I’ve got a few tips that might come in handy!
1. Consider your kit
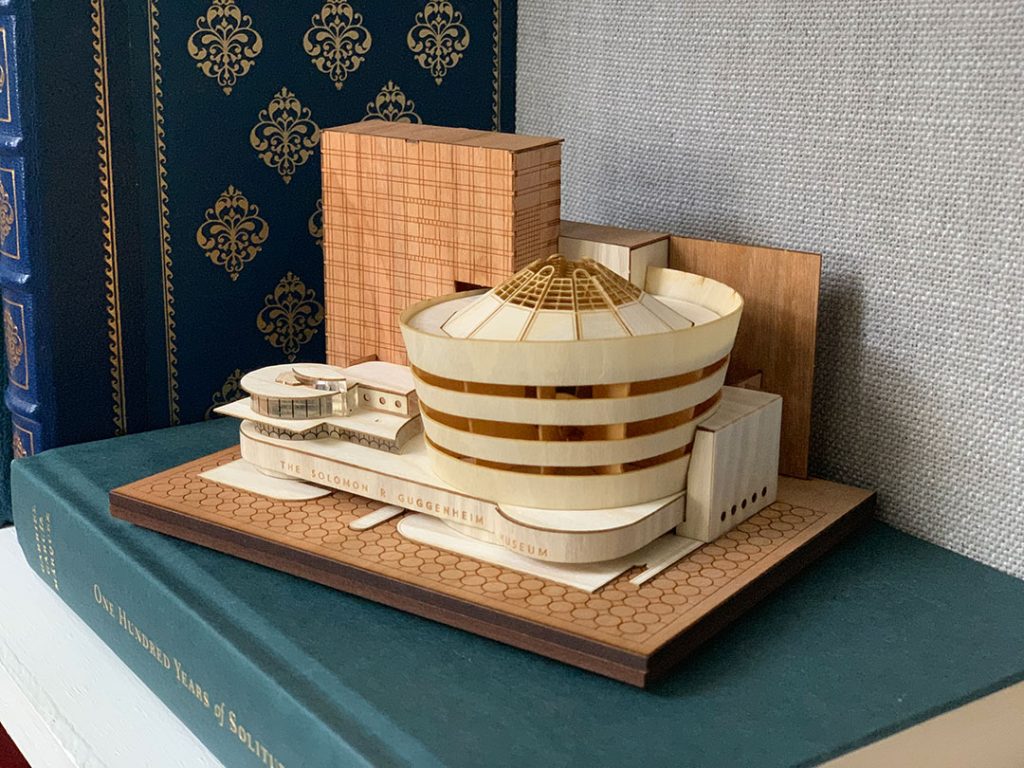
The Guggenheim is faster, easier kit to build with few pieces, the Farnsworth is a bit more involved and the newly released Unity Temple kit has the most pieces of them all. There’s no need to be intimidated, however, because the instructions included do an excellent job of guiding through the process.
2. Lay out your supplies ahead of time
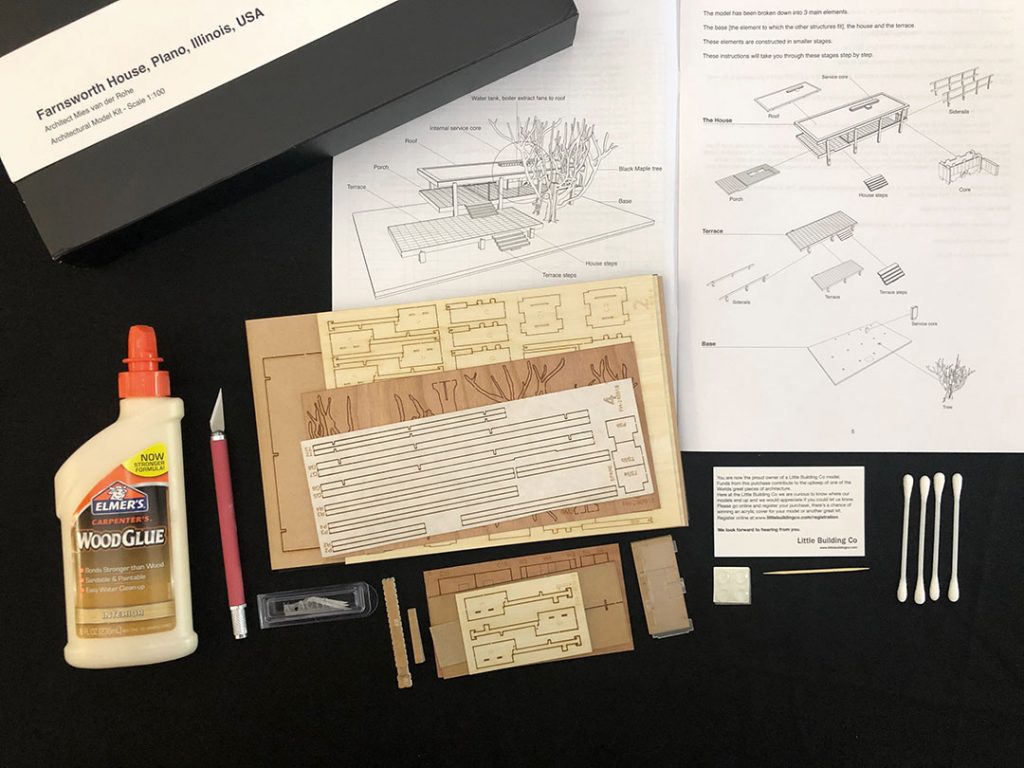
With the exception of a blade and glue, just about everything you need is provided in the box. The laser-cut sheets and loose pieces are all numbered and lettered for easy identification, so I spread them out in order before I got started to ensure nothing got lost as I went along.
Many of the pieces have peel-and-stick adhesive, but a few will need PVA glue. I used Elmer’s Wood Glue and decanted a bit into a small bowl and added water to thin it out. The kit comes with a toothpick for pointed glue application, though I ended up swapping the toothpick for a tiny paint brush I had on hand.
3. Read the directions
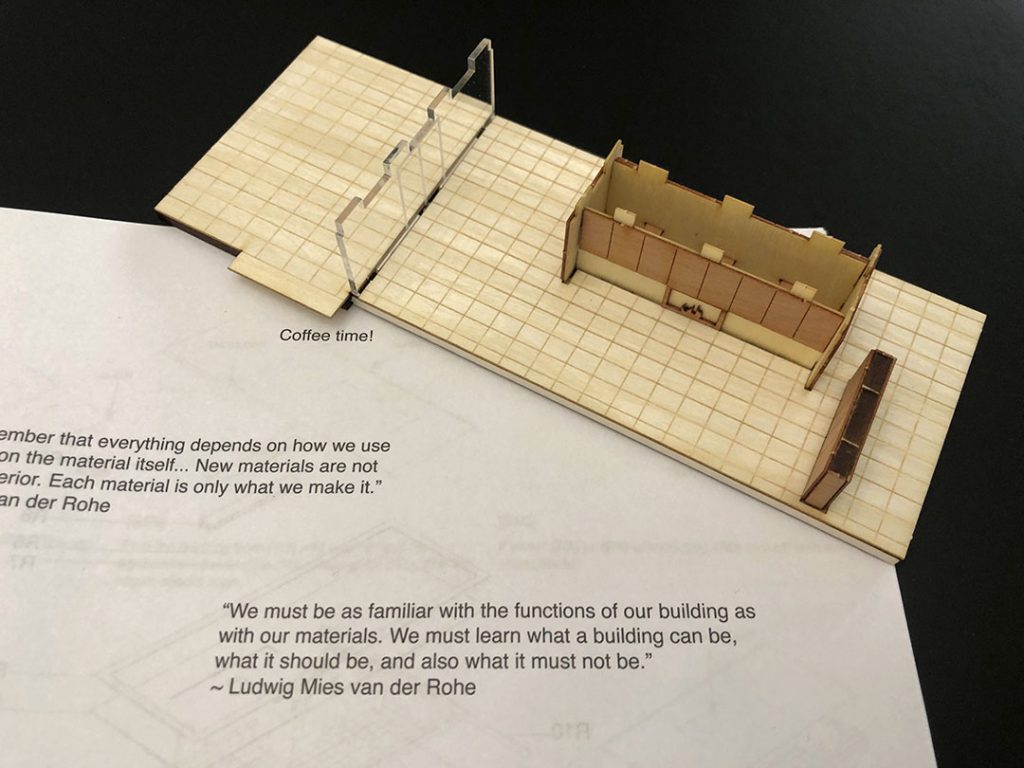
All of them. This isn’t a Billy bookcase from Ikea, so don’t skip over anything because you think you have a general idea of where the build is going. The directions are thorough, well illustrated and even include coffee breaks!
4. Cut on a safe surface
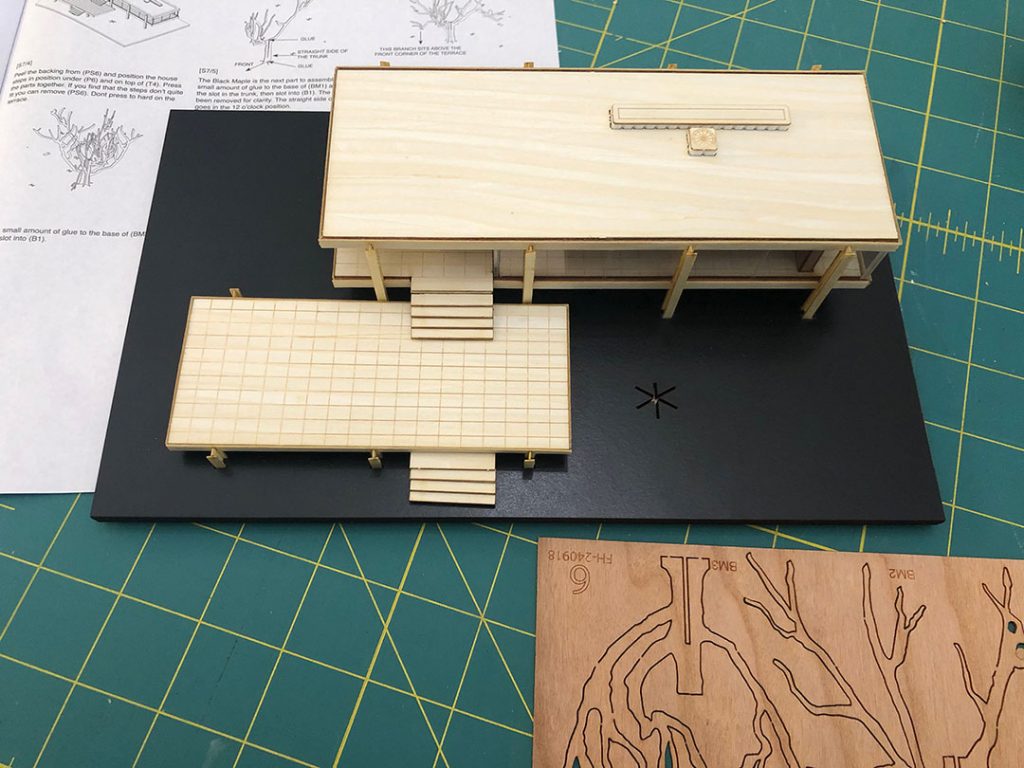
I recommend using a cutting board from your kitchen, or a self-healing craft cutting mat while using the X-Acto blade. The wood pieces are laser cut in sheets and attached by thin phalanges holding the pieces in place. Don’t be tempted to pop them out, just give it a quick cut with the knife and everything is good to go.
5. Enjoy the process!
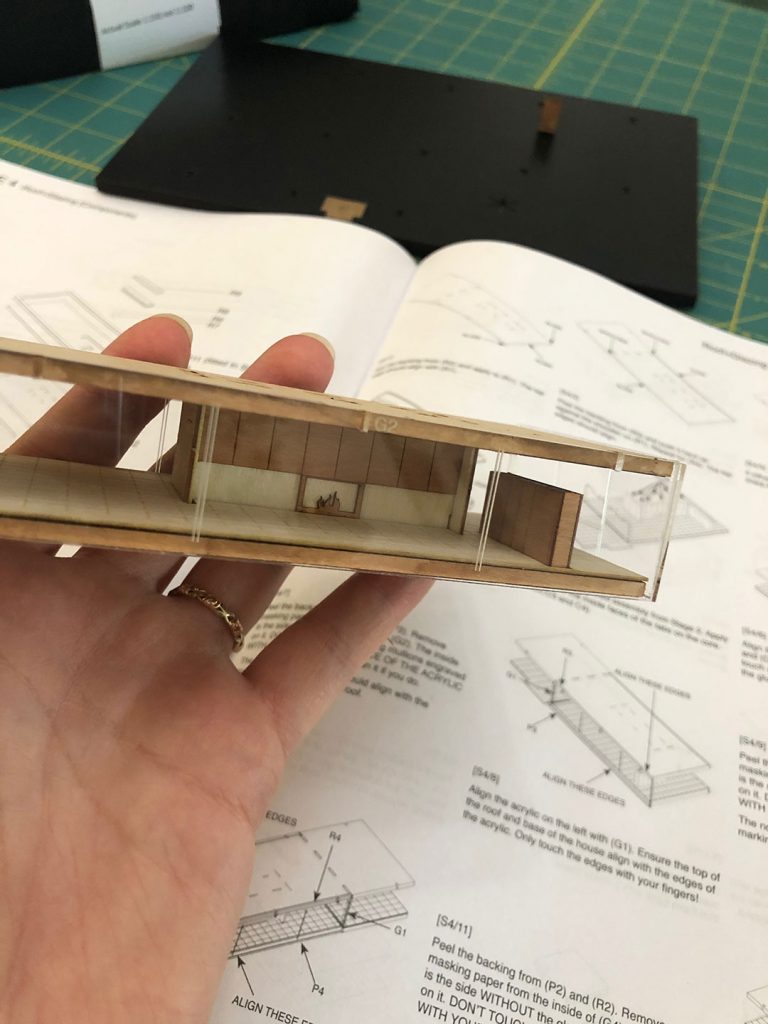
Whether you like to draw a project out for as long as possible, or you’re like me and love to finish up all in one go, it’s fun to put on some music or a good audio book and let the time fly by!
Finally, I recommend protecting the finished product. I don’t want to dust around the tiny details, and I do want to show them off to their best advantage, so we’ll be covering them in the custom-sized acrylic cases. You can find the cases and kits at ModelLandmarks.com.
Looking for more fun mod projects to keep you busy? Check out these mod games and activities.
Of course, don’t forget to follow us on Instagram, Facebook and Pinterest for more Mid Century Modern inspiration!

