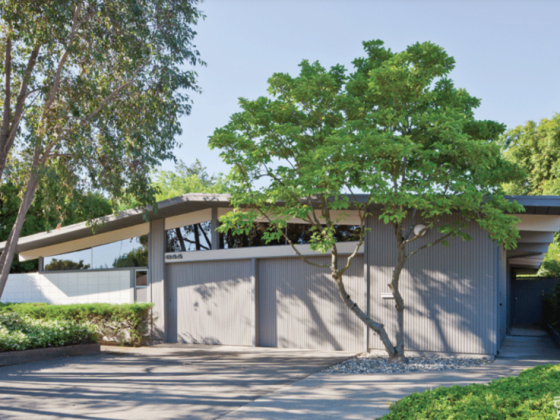
Midcentury style is all about loud simplicity. It elevates strong, functional geometry over frilly excess at the same time that potent, space-age colors engage all thrusters to send visual senses over the moon with delight.
And though adjusting these components to the proper proportions is key to any comprehensive midcentury look, you can do everything right and still find that your atomic home lacks the desired impact. What could be missing despite adherence to clean lines and the strong presence of teal and teak? Perhaps the problem is that you need to introduce sculptural interest into your surroundings. If you look around and find confirmation in overwhelmingly flat, bare walls, your home might be overdue for that wallop of graphic punch that’ll boost the oomph factor with some extra dimensions.
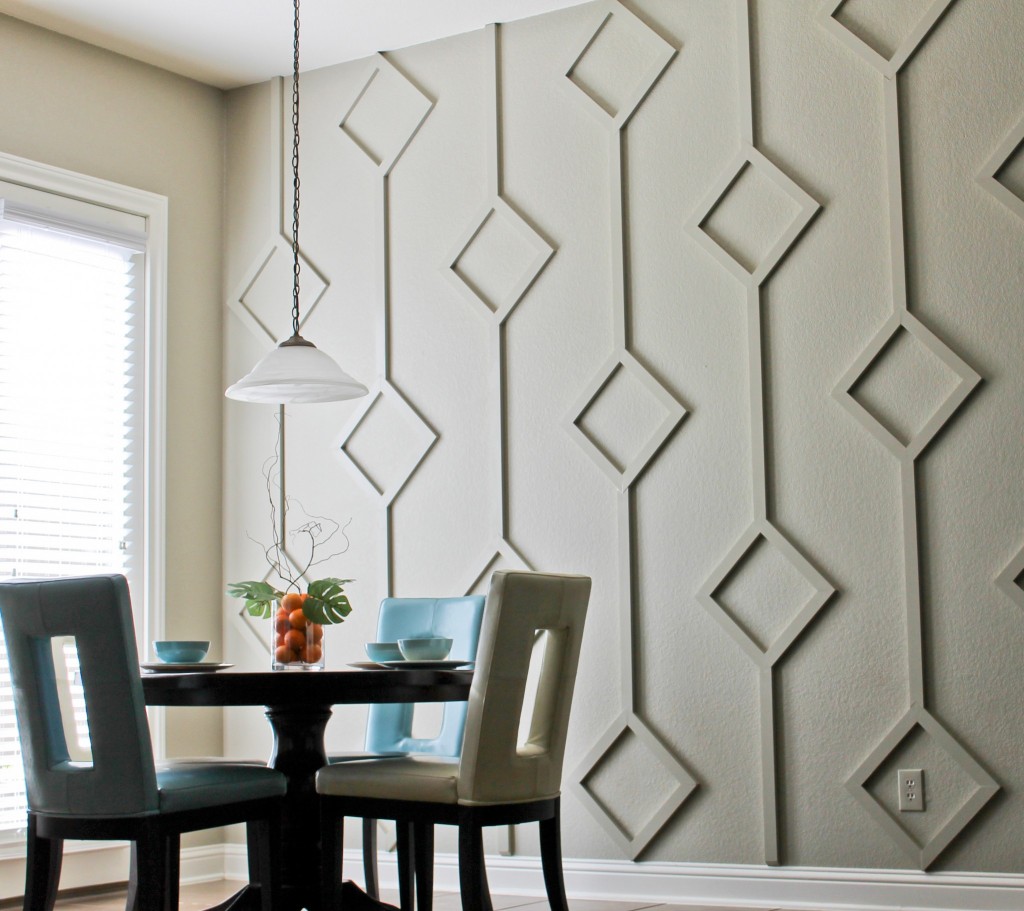
Luckily, Dana Frieling over at Make Them Wonder has just the DIY solution for any retro home aching for cool textural allure: a diamond wall treatment! This project involves a bit of woodwork, a bit of math and a bit of elbow grease, but bit-by-bit, it will all come together for the dynamic accent wall you didn’t know you needed. Treat yourself (and your interior) to Dana’s DIY diamond guide and you won’t regret it, especially when you look upon your refreshingly mod wall and know you brought it from rough to resplendent with your own hands.
Here’s what you’ll need to get started:
Measuring tape
Thumbtacks
Fishing line
2 permanent markers (different colors)
5 (10-foot, 1×4) pine boards
4 (8-foot, 1×4) pine boards (use a table saw to rip these boards lengthwise)
Liquidnails
Dap wood filler
1 quart paint
1 quart paint finish
Paint brush
Brads for nail gun
Fine-grit sandpaper
Miter saw
Band saw
Table saw
Finishing nail gun
1. Measure the length and width of your wall and create a grid on some graph paper based on the measurements. Now, decide how big you want your diamonds. Divide the length of your wall by the size of the diamond (from point to point) and this will tell you how many columns can be evenly distributed all the way across. Next, choose how you want your pattern to look. Dana chose to alternate between two and three diamond shapes per column, but feel free to develop your own pattern.
2. With all these big decisions out of the way, it’s time to bring your project off the page and onto the wall. Transfer the outline for your grid using thumbtacks and fishing line as a plumb line. This line denotes the center for each diamond in the column making it easier for you to transfer the pattern onto the wall. If you’re alternating between number of diamonds per column, mark the tops and bottoms of the diamond positions on the line using different colored markers to limit mistakes and mix-ups with the pattern.
3. Rip the 8-foot pine boards lengthwise. Miter the edges and fit the pieces together into diamond shapes using a finishing nail gun to attach them together. Apply wood filler in the nail holes and allow it to dry before sanding it down.
4. Cut out your straight pieces from the 10-foot pine boards. Be sure to measure carefully because the lengths between diamonds are likely to vary. Cut the pieces so that the wood will smoothly attach to the tops and bottoms of the diamond shapes, making corner cutouts. Label each straight piece to make for an easier assembly process later on.
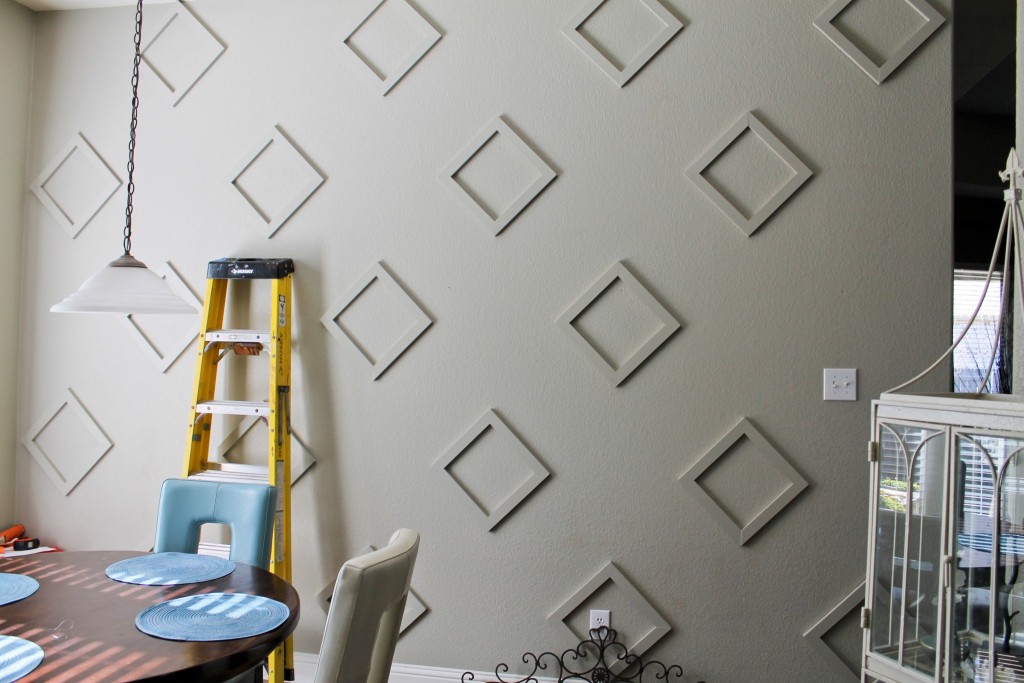
5. Next up, paint your diamonds and planks. You can go with a different color than your wall, but the monochrome does evoke a cohesive elegance. After you’ve applied the desired finished and the diamonds have dried, add some liquidnails to the back of the diamond shapes and press them onto the wall, in line with your markings. Secure them with finishing nails.
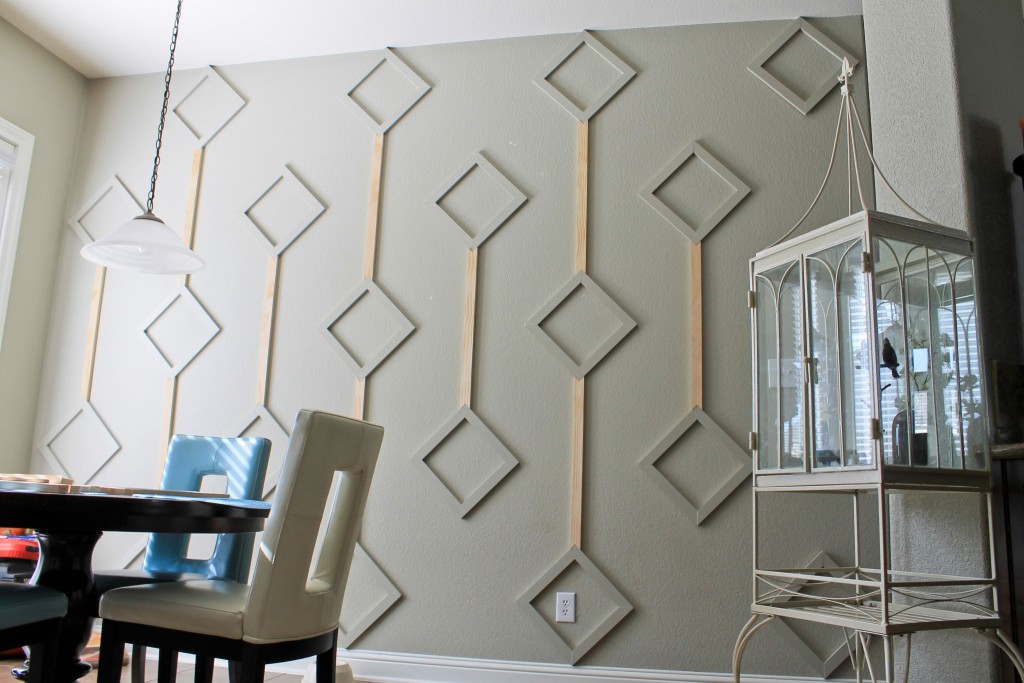
6. Check to make sure your long pieces will fit smoothly with the diamonds before nailing them into the wall. If the cuts are the proper lengths, but just a little rough at the transitions, you can add some dap to the gaps, sand them down and retouch with paint.
Now stand back and enjoy the eye-catching and inspiring work you’ve just completed!
For more details, additional process shots and other fabulous projects by Dana Frieling, visit her blog.


